When it comes to scuba diving, having reliable equipment is paramount for a safe and enjoyable underwater experience. However, even the most well-maintained diving gear can encounter issues over time. Knowing how to address common problems through DIY diving equipment repairs can save you time and money, ensuring that your gear is always in top condition for your next dive.
Understanding the Basics
Before delving into specific DIY repairs, it's crucial to have a basic understanding of your diving equipment. The primary components typically include a mask, snorkel, fins, wetsuit or drysuit, buoyancy compensator (BC), regulator, dive computer, and tanks. Each piece serves a unique purpose, and familiarity with their functions is essential for effective troubleshooting.
Common Issues and DIY Solutions
1. Leaky Mask Seals
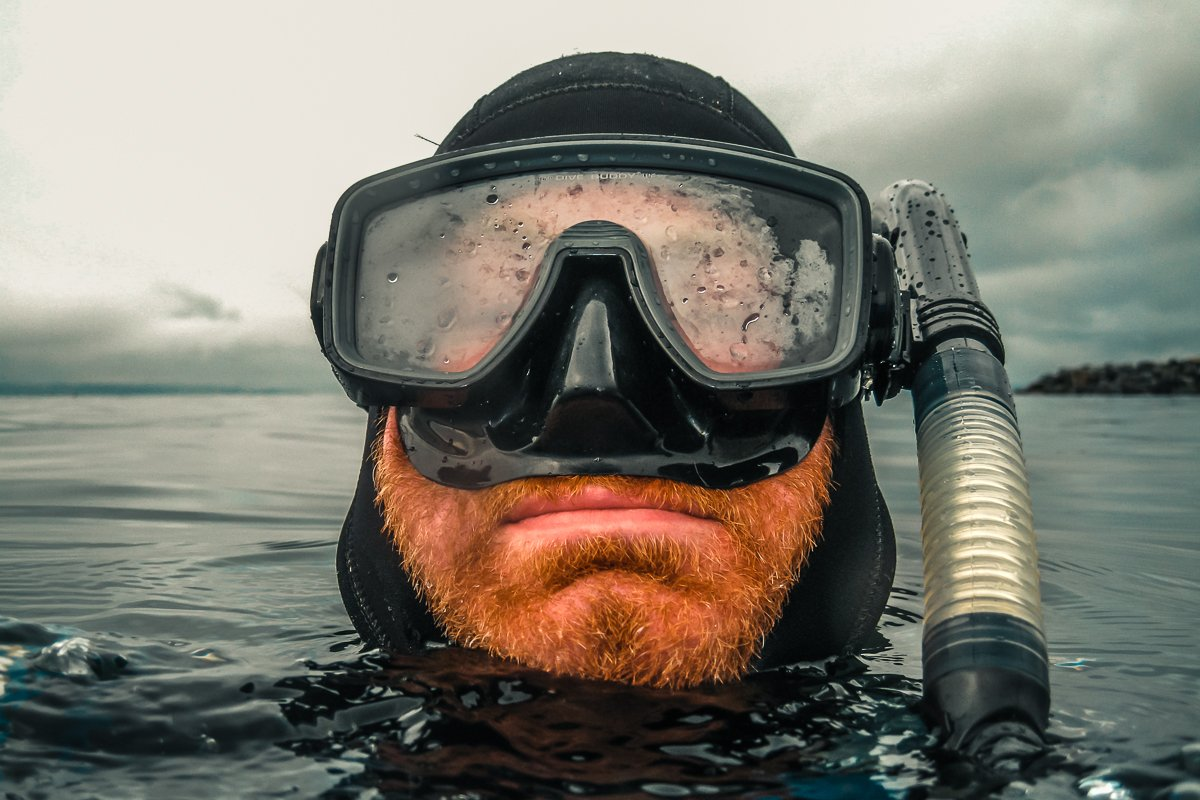
Issue: A leaking mask can be a nuisance, causing water to seep in and obstruct your vision.
Solution: Inspect the mask for any visible cracks or damage. If the seal is compromised, applying a thin layer of silicone grease can often remedy the issue. Make sure the mask is clean and dry before applying the grease.
2. Snorkel Mouthpiece Wear and Tear

Issue: Over time, the mouthpiece of your snorkel may become worn or damaged.
DIY Solution: Replace the mouthpiece with a new one, readily available at dive shops. Ensure a snug fit, and consider using a zip tie to secure it tightly in place.
3. Fin Strap Repairs
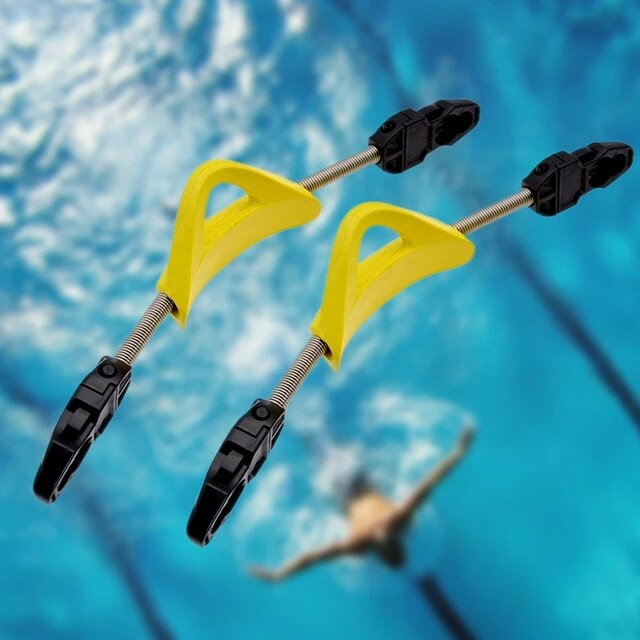
Issue: Broken or loose fin straps can impede your ability to swim efficiently.
DIY Solution: If the strap is intact but loose, adjust the buckle for a tighter fit. For a broken strap, consider using a spare fin strap or a cable tie as a temporary fix until a replacement strap can be obtained.
4. Wetsuit/Drysuit Tears
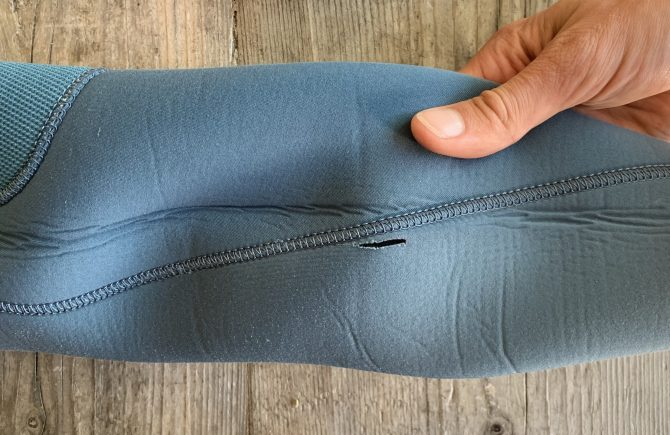
Issue: Small tears or punctures in your wetsuit or drysuit can compromise insulation.
DIY Solution: Use a wetsuit or drysuit repair kit to patch small holes. Ensure the area is clean and dry before applying the patch, and follow the kit instructions carefully.
5. Regulator Freeflow

Issue: A regulator freeflow occurs when air flows uncontrollably, potentially leading to air wastage.
DIY Solution: Check for debris in the regulator and inspect the o-rings for damage. Lubricate o-rings with silicone grease and ensure all components are properly assembled.
6. Dive Computer Malfunctions
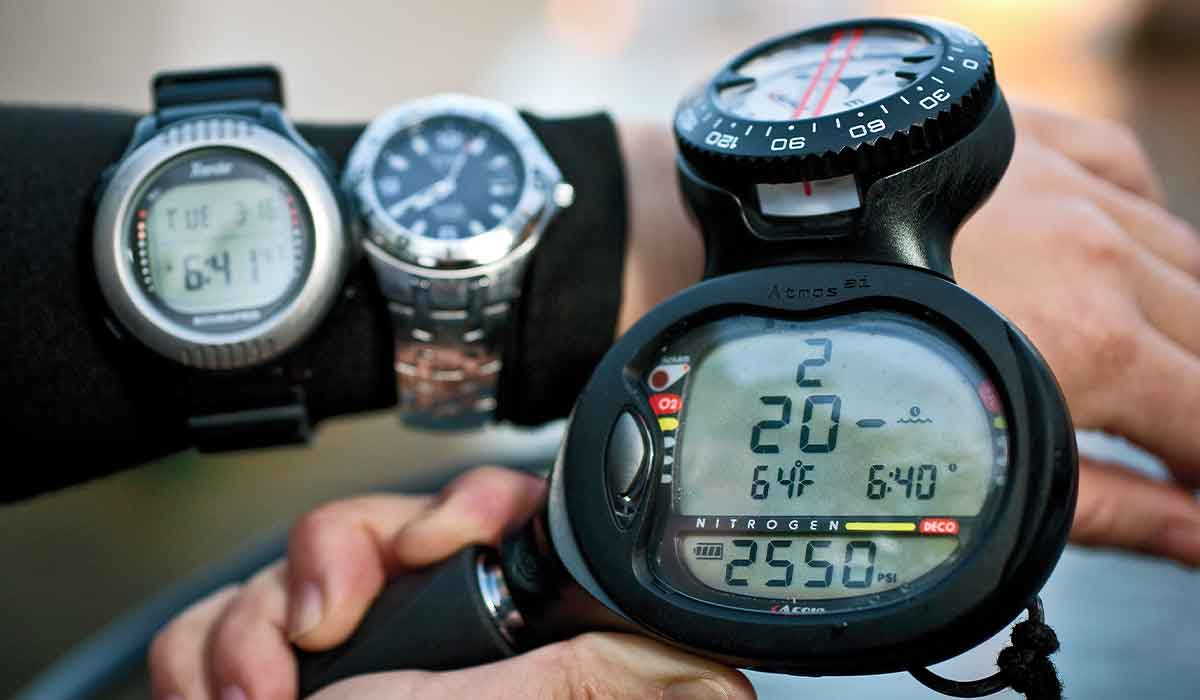
Issue: Dive computer displaying errors or malfunctions.
DIY Solution: Check the battery level and replace if necessary. If the issue persists, consult the manufacturer's manual for troubleshooting tips. Avoid attempting complex repairs without professional guidance.
7. Buoyancy Compensator Device (BCD) Leaks
Issue: Air leaking from the BC can affect buoyancy control.
DIY Solution: Submerge the BC in water and look for bubbles indicating the source of the leak. Patch small holes with a BC repair kit or consult a professional for more significant issues.
Safety First
While many common diving equipment issues can be addressed with DIY repairs, it's crucial to prioritize safety. If you are uncertain about a repair or if the problem persists after attempting a fix, seek assistance from a certified dive professional or equipment technician. Complex issues, especially with life-supporting equipment like regulators, should be handled by professionals to ensure your safety underwater.
Conclusion
DIY diving equipment repairs empower divers to address common issues promptly, enhancing the longevity and performance of their gear. Regular maintenance, combined with the ability to troubleshoot and fix minor problems, contributes to a safer and more enjoyable diving experience. Remember, a well-maintained set of diving equipment is the key to unlocking the wonders of the underwater world.